Support
> Getting Started > How to add a Google Maps API key to your store locator softwareHow to add a Google Maps API key to your store locator software
A Google Maps API key is needed if you choose Google Maps as the mapping service provider for your store locator. Here's our guide to getting your free API key from Google and adding it to your store locator.
1. Follow this link and click on the blue 'GET STARTED' button at the top right of your screen:
![]()
You'll need to log in with a Google account; if you don't have one, click on 'Create Account' to create one instead and follow the prompts to create your account.
2. If you have not used Google Cloud Platform before, you should be prompted to 'Enable billing for project...' as shown below.
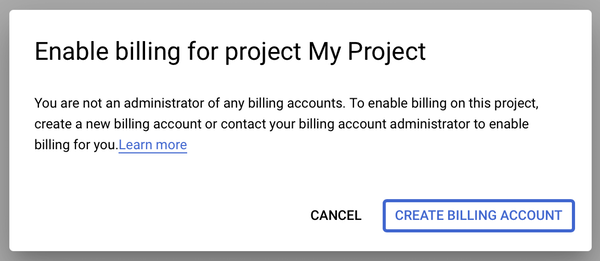
Go ahead and Enable Billing by clicking on 'CREATE BILLING ACCOUNT'.
Note: The Google Maps free usage quota is quite generous, so it's unlikely that you will incur any additional charges for your store locator unless you expect it to be used heavily (i.e. more than 1,000 page loads a day). However, as of 3rd May 2018, all new API users are required to enable billing to get access to this free quota. If you have any concerns about this, drop us an email and we'll be happy to discuss further.
3. Give your billing account a name and select 'Continue':
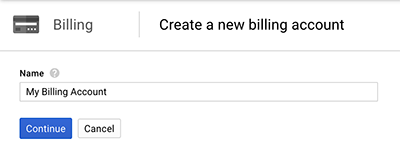
4. Follow the steps to enter your business information and add a payment card or Paypal to your account.
5. Once you've created a billing account, you may be prompted to Enable Google Maps Platform as shown below:
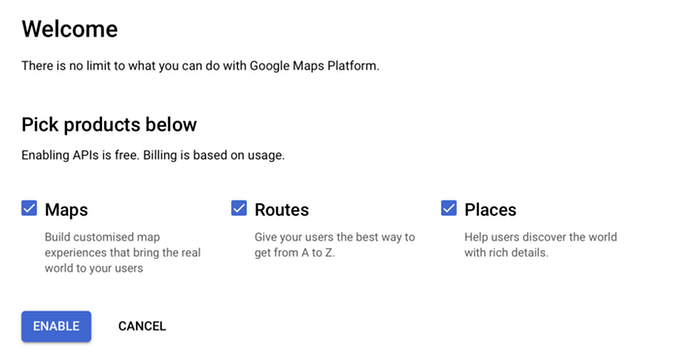
Ensure that all three boxes are checked. and click ‘ENABLE’.
6. You may now be prompted to answer a few questions before continuing so complete this with your relevant industry details. It's not important what you choose here, it just so that Google can better understand your reasons for signing up to Google Cloud Platform.
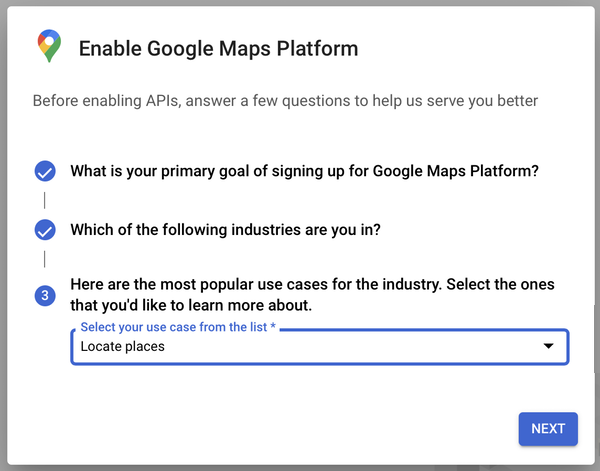
7. A new API key should now have been automatically created for you and displayed on screen:
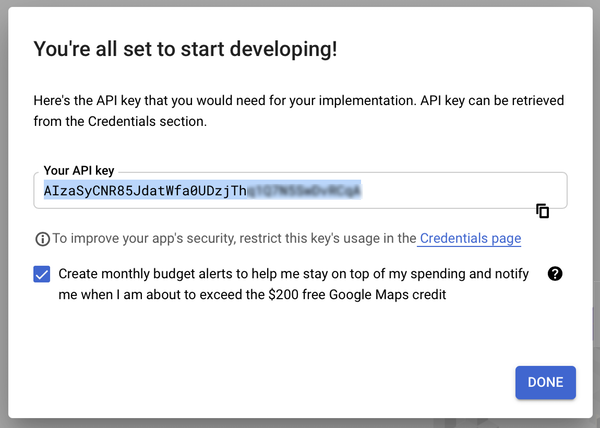
Click on the copy icon on the right hand side to copy your key to your clipboard.
8. Add your new key to your Store Locator account by pasting it into the box at the top of this page and clicking the Save API Key button.

9. We recommend restricting which websites can use your Google Maps API key so noone else can use your key. Click here to list your API keys (known as credentials https://console.cloud.google.com/apis/credentials and click on your new API key.
Under Key restriction choose 'HTTP referrers (web sites) as shown below:
Note in my example above I have added a restriction so the key can only be used on storelocatorwidgets.com. In your case I would recommend using either https://your-website-address.com/* to allow usage on your entire domain, or just copy and paste the URL shown at the top of the email that you received.
10. The final step is to choose your installation type under 'Install on your website' and either follow the instructions for your platform or simply copy the HTML Embed Code and add it to the page on your website on which you would like your store locator to appear:

If you already have our store locator installed on your website, you should replace your existing Embed Code with the new one shown.
Warning: sometimes it can take up to 5 minutes for your new API key to be enabled by Google so it may not work immediately.
